
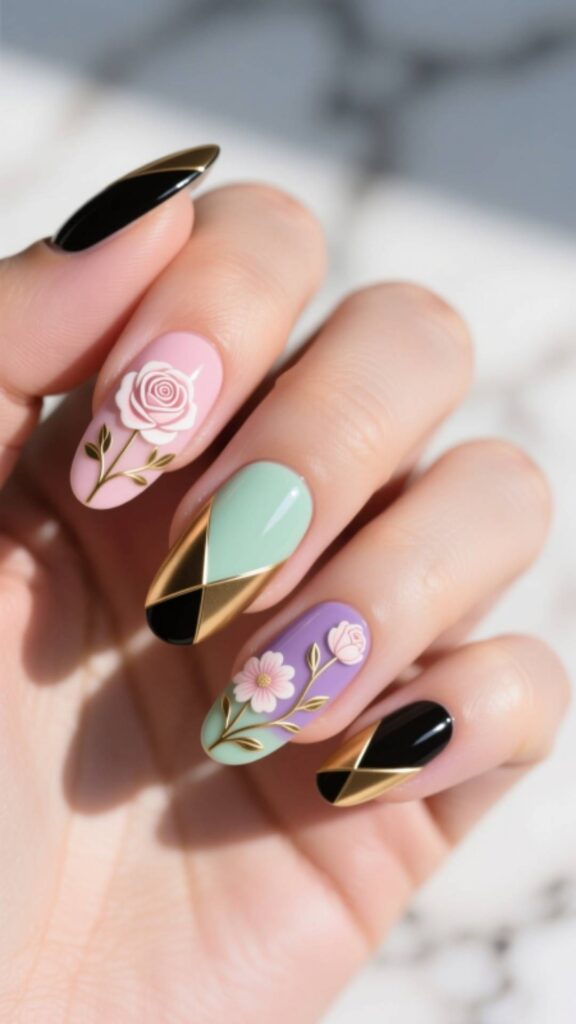
Floral Nail Designs: Fresh Ideas to Bloom Your Mani 2025/2026
Floral Nail Designs mean decorating nails with flower-inspired patterns, shapes, and colors. These designs bring nature’s beauty to your fingertips. They highlight elegance, creativity, and charm. The motive is to create stylish, colorful nails that match every mood and season.
Floral Nail Designs add freshness and personality to your manicure. They combine soft shades, detailed petals, and natural elements. This nail art style stays trendy in every season. It suits casual looks, special occasions, and modern fashion choices.
This trend continues growing in the beauty world. Floral Nail Designs offer endless styles, from minimal daisies to bold tropical blooms. Easy to customize, they fit every nail shape and length. They make nails look vibrant, feminine, and timeless.
1. Tiny Daisy Accent Nails
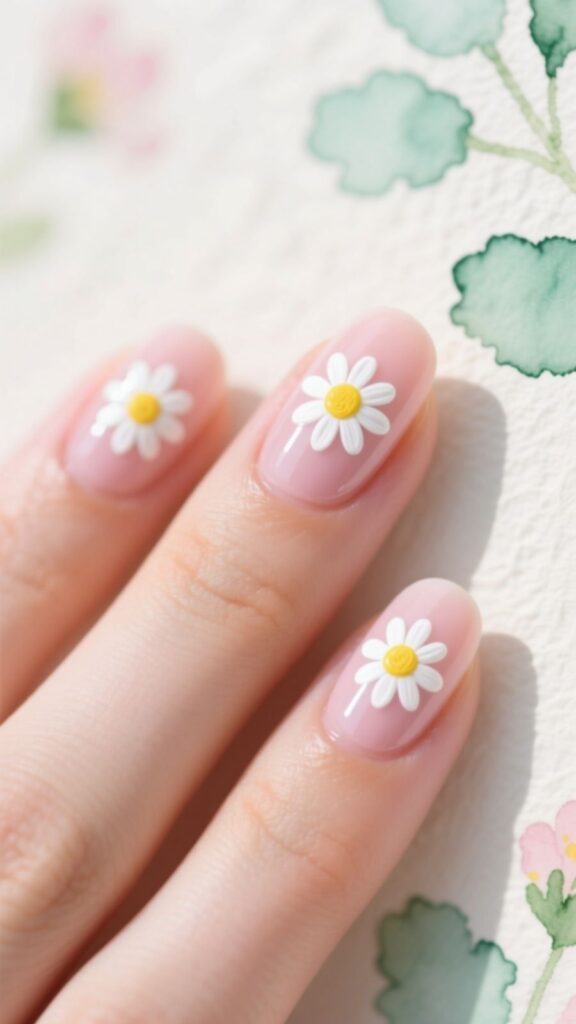
Add tiny daisy accents to a neutral base for a sweet, minimal look. Paint your nails light beige or pale pink. Then use a thin brush or dotting tool to dot small white petals and yellow centers on one or two accent nails.
Keep the design clean by spacing the daisies. Use a clear top coat to seal the look. This simple design works well for everyday wear and adds a cheerful touch without overwhelming the hand.
Must Read: Pumpkin Nails: 30 Stunning Fall Nail Ideas You’ll Love
2. Watercolor Floral Effect
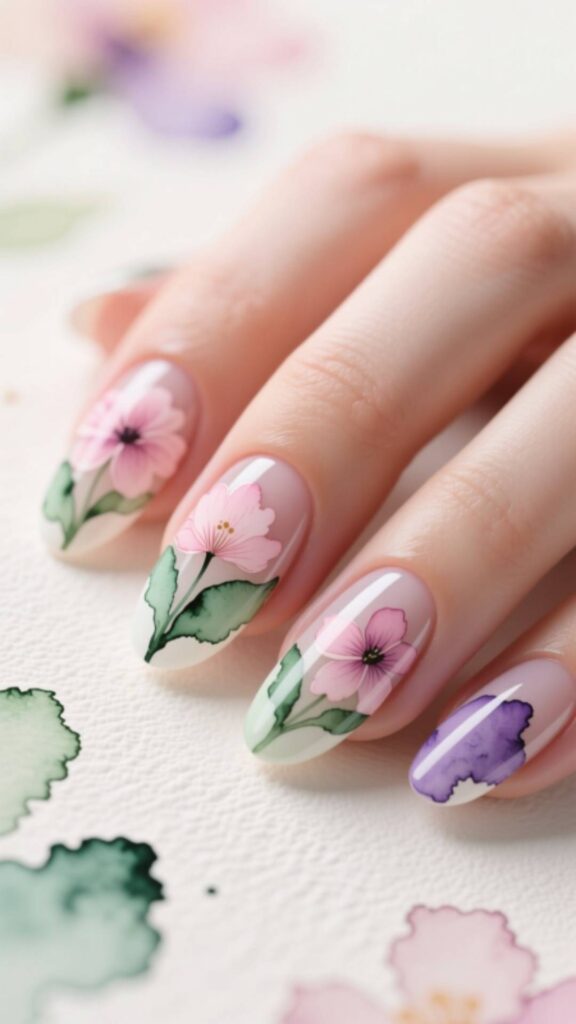
Use diluted polish or nail paint to blend soft floral shades like pinks, purples, and greens. Lightly drag a fine brush to blur edges and create a watercolor look. Then outline petals in white or darker shade softly.
The blurred look mimics petals soaked in water. It fits well on medium-length nails. Use shades that complement your skin tone and top with glossy sealant to make the colors vibrant.
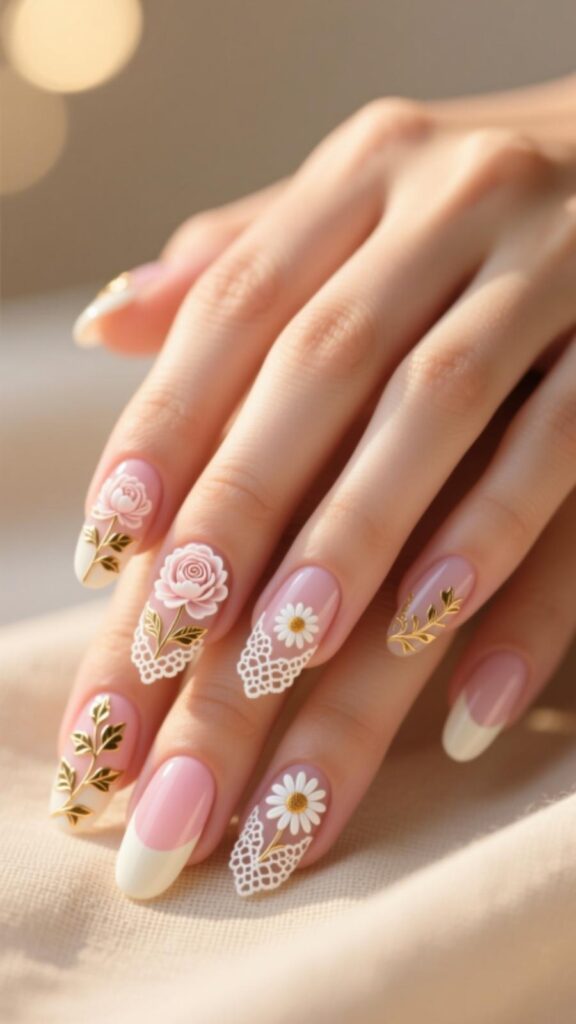
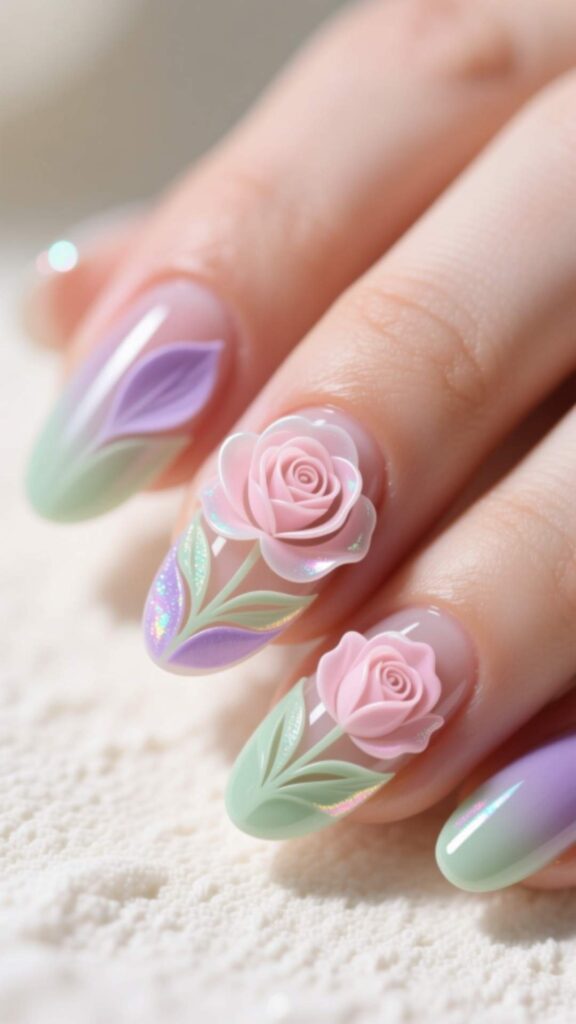
3. Rosebud Nail Tips
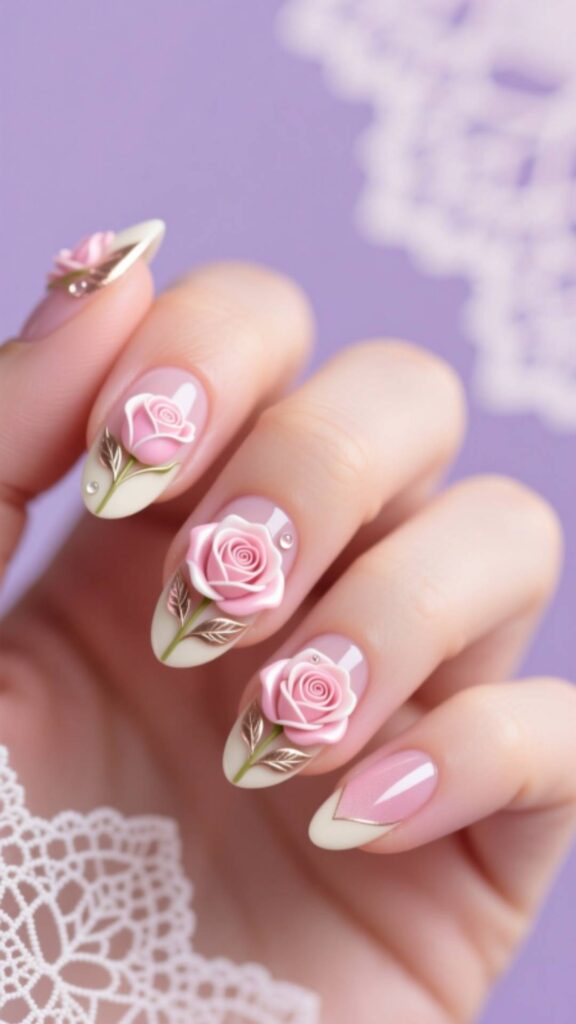
Paint your nails in a solid base, like ivory or mauve. At each tip, draw small rosebuds using soft red or blush shades with green leaves. Keep the rosebuds small, just touching the tip.
This design frames your nails elegantly. It’s subtle yet detailed. You can also add a dusting of shimmer or fine glitter near the rosebuds to catch light without distracting from the floral motif.
4. Botanical Stem Lines
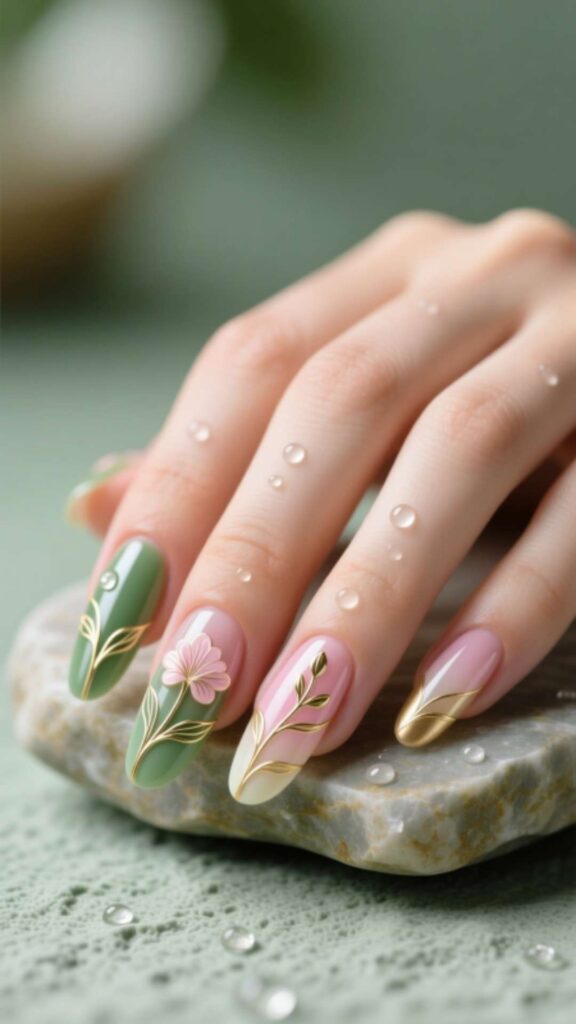
Pick a light base color like sage or nude. Using dark green polish and a fine brush, paint thin botanical stems up from one edge of the nail. Add tiny leaves or buds along those lines.
This style gives a vertical flow, slimming the nail visually. It also looks modern and minimal. On some nails, you can omit leaves to balance the design.
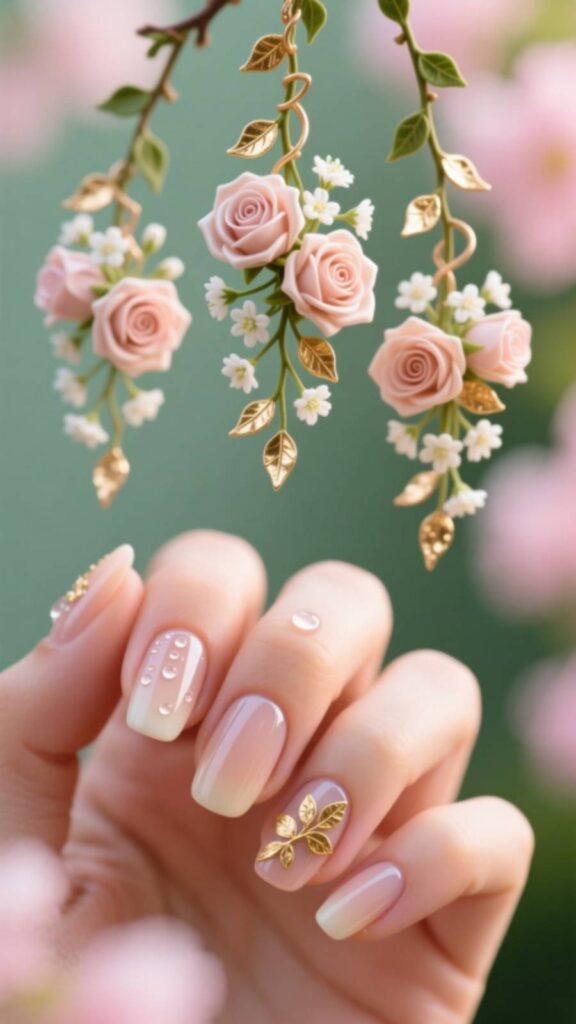
5. Pressed Flower Embedded Nails
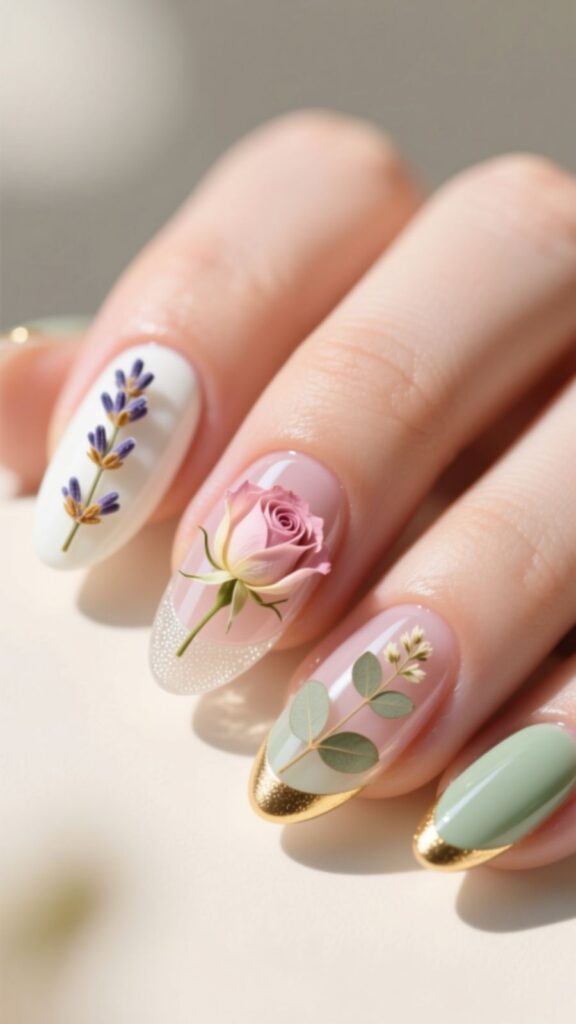
Use real dried mini flowers or floral decals. After your base coat, place the dried flower on the nail. Then cover with builder gel or clear acrylic to embed the flower into the nail surface.
This approach gives depth and realism. It also feels smooth. Choose tiny florals so they don’t interfere with daily tasks. Use a glossy top coat to highlight the petals.
6. Floral Negative Space
Leave parts of the nail bare (natural nail) and paint flowers around the clear spaces. Use pastel or contrasting hues for the petals. Keep the negative space clean and geometric for modern flair.
This design emphasizes both bare and painted surfaces. It works best on medium to long nails. Use a steady hand to keep the edges crisp between painted and bare areas.
7. Tropical Hibiscus Patterns
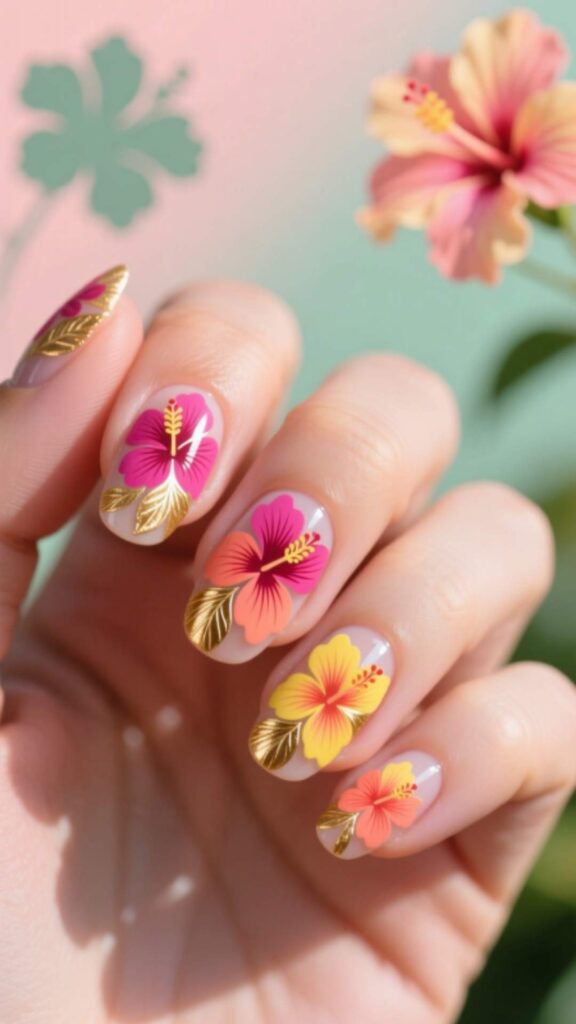
Go bold with tropical flair. Use bright pink, coral, and green tones for hibiscus flower designs. Fill full nail surfaces with large petals and leaves. Add detail with thin lines or white accents.
This style suits vacation vibes or warm seasons. It works best on nails with length so the blooms can spread. Use a matte top coat for a tropical matte look or gloss for shine.
8. Sunflower Accents
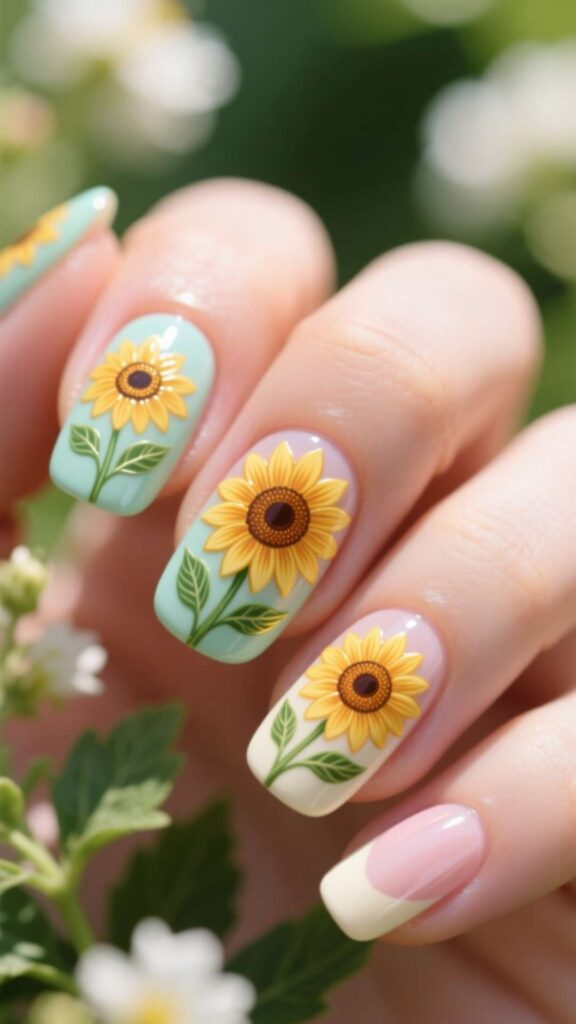
Use sunflower motifs on accent nails. Paint a golden yellow disc with tiny brown dots in the center. Surround with yellow petals and small green leaves. Place on one or two nails per hand.
Keep other nails in a solid earthy tone (tan, olive, cream). The contrast makes the sunflower designs pop. Use a glossy finish to highlight the bright petals.
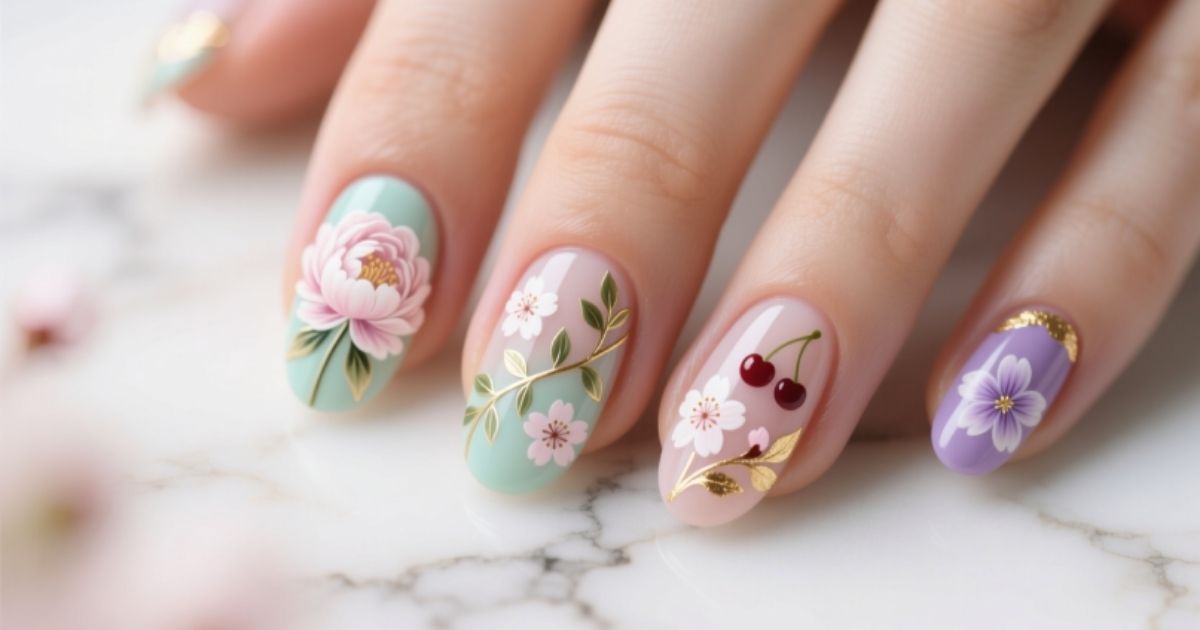
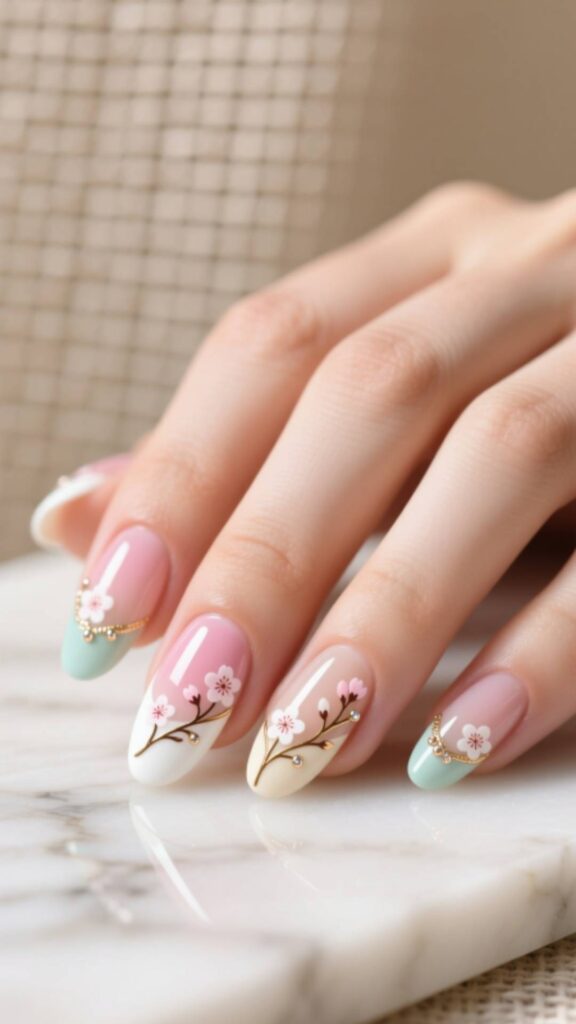
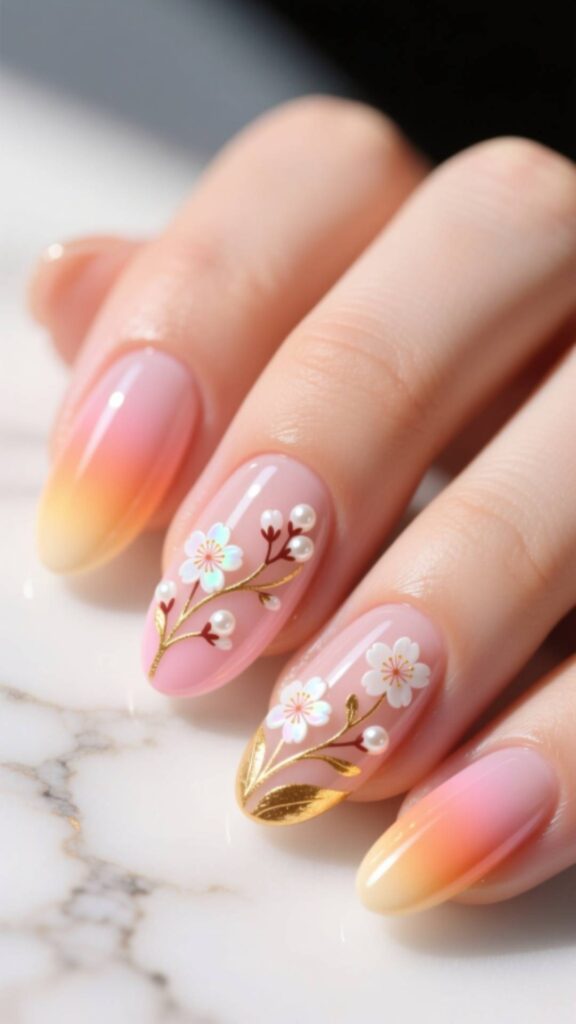
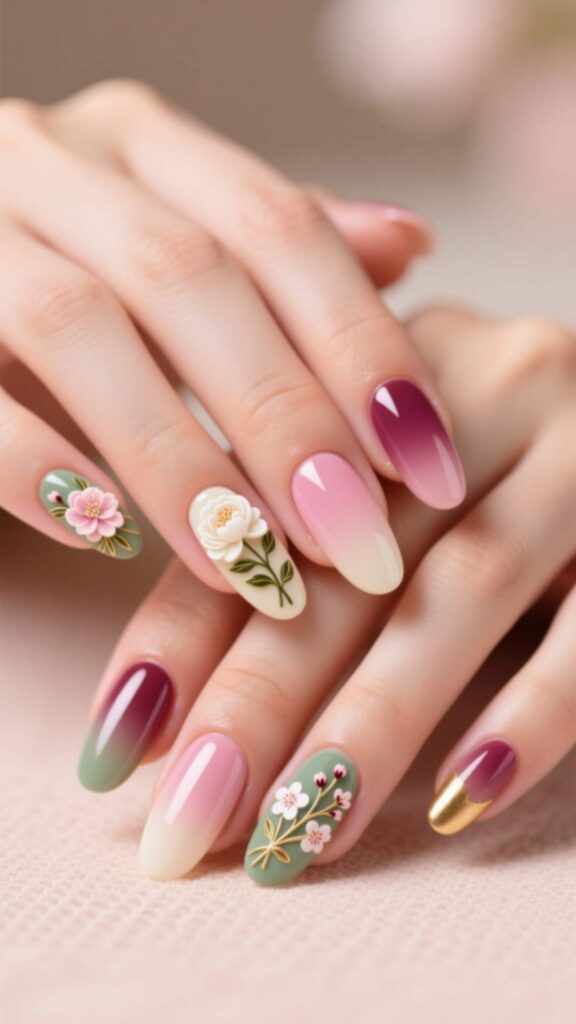
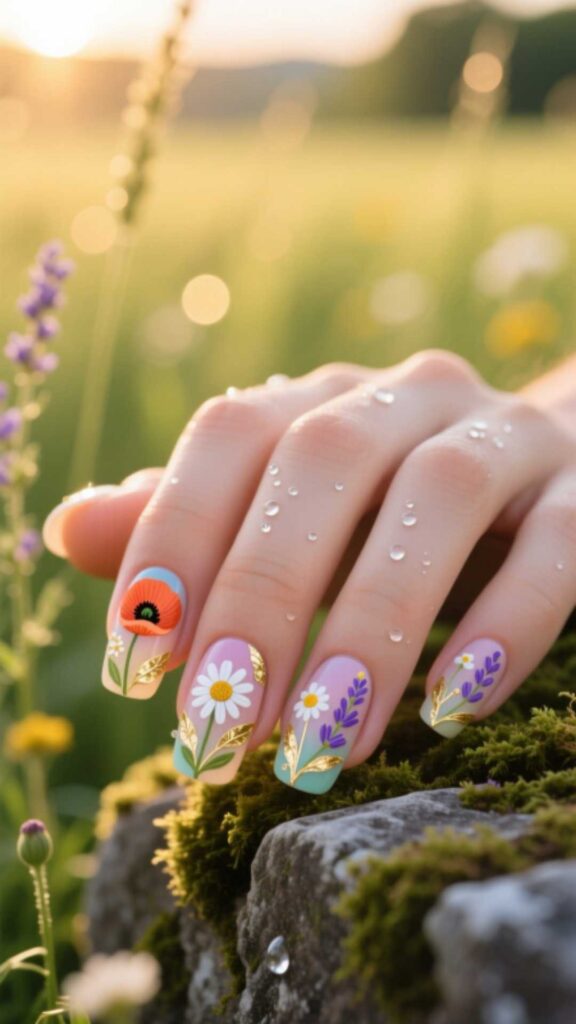
9. Cherry Blossom Motif
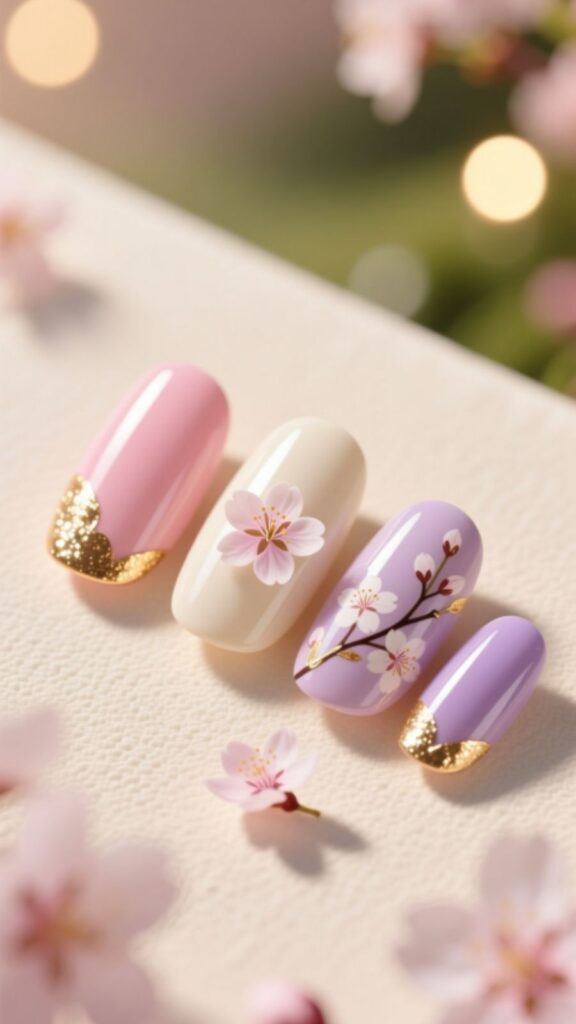
Choose soft pink, white, and pale gray hues. Paint delicate cherry blossom branches across the nails using brown stems and small pink or white blossoms. Scatter a few petals falling.
This design feels airy and elegant. It fits spring and romantic moods. Use a fine brush for the branches and dotting tool for blossoms. Seal with a clear top coat.
10. Floral Gradient Fade

Start with a gradient background that shifts from one color to another (e.g. light pink to peach). Then overlay small flower outlines in white or a darker tone. Spread them evenly.
This layered effect adds depth. The gradient gives softness, while the flowers bring focus. It works well on nails of medium length. Use a sponge to blend gradients and fine brush for florals.
11. Lavender Sprigs Design
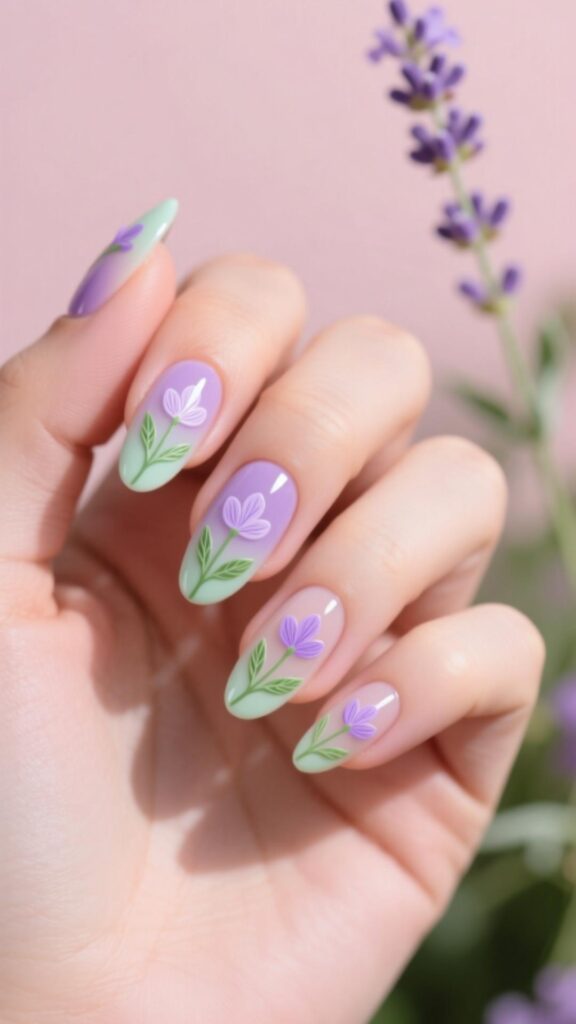
Pick a light pastel base, like cream or pale purple. Paint fine lavender sprigs using purple dots or short strokes and green stems. Place multiple sprigs diagonally.
The design is delicate and soothing. It suits everyday wear. Use shade variation for realism mix darker and lighter purples. Finish with a matte or gloss top coat.
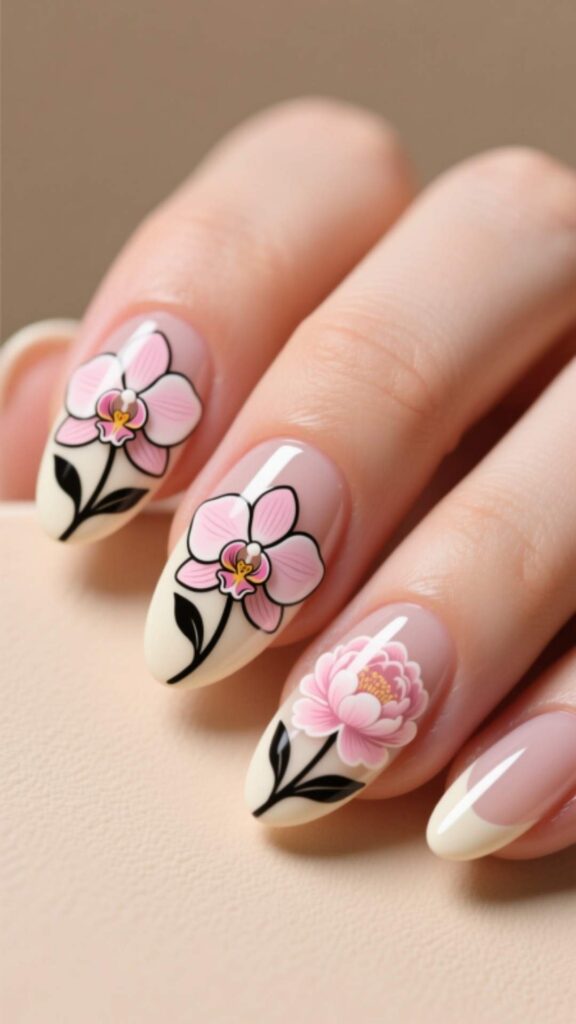
12. Orchid Floral Accents
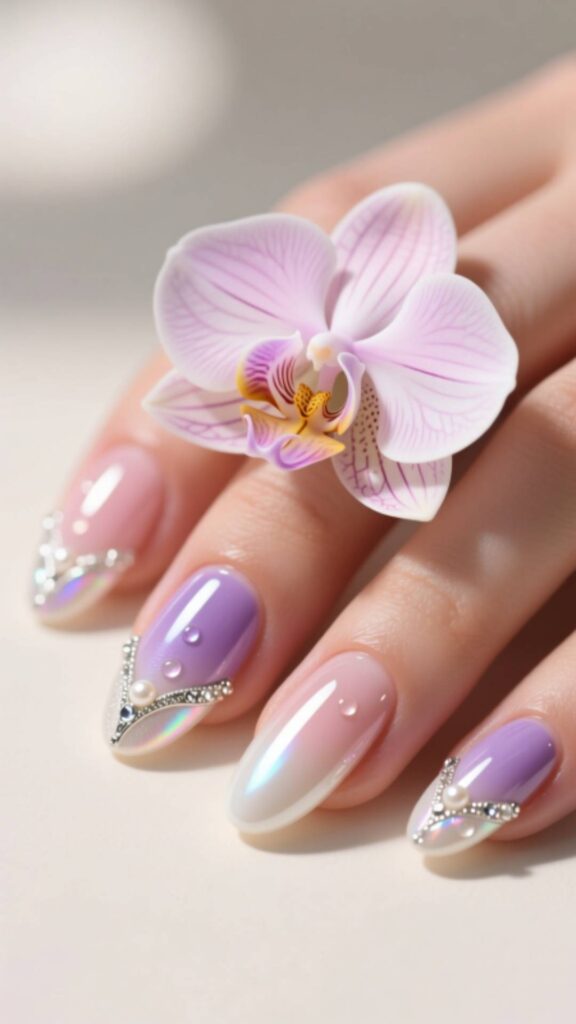
Use elegant shades like lilac, white, and pale yellow. Paint orichid-like blossoms on the corners or bases of your nails. Keep the rest of the nail soft pastel or nude.
Orchids carry sophistication. They work well for formal events. Use shading and dots to define petals. Keep designs small so they don’t dominate the nail.
13. Floral Lace Overlay
Start with a soft base. Use a lace stencil or stamp with floral lace patterns in white or soft metallic. The lace looks like floral netting across the nail.
This design combines flowers and texture. It gives a romantic, vintage edge. Use a gentle hand to align lace across all nails. A glossy top coat protects the delicate pattern.
14. Mixed Flower Cluster
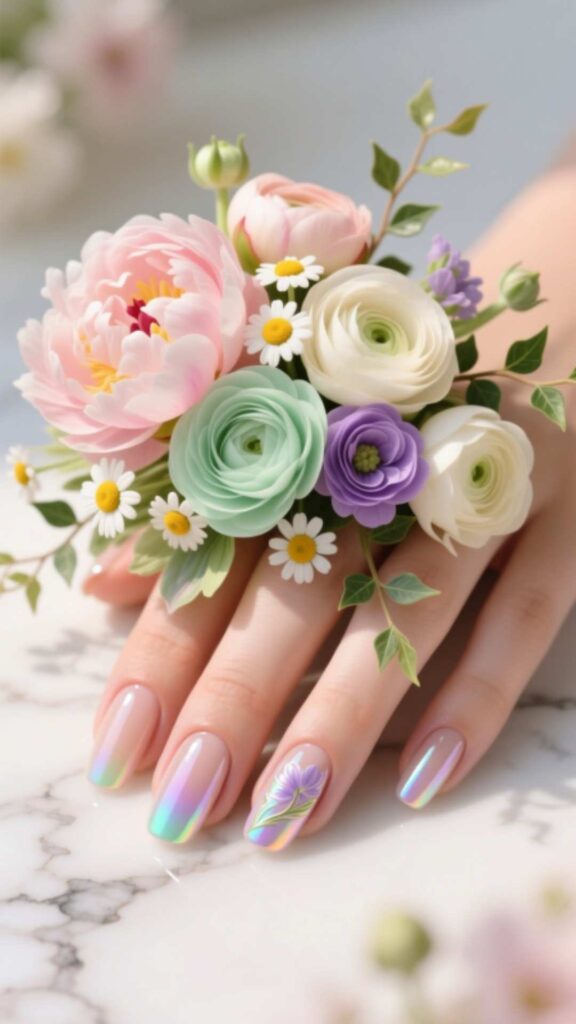
Choose multiple tiny floral types: daisies, roses, forget-me-nots and cluster them together at the base or side of the nail. Use complementary colors. Let each cluster slightly overlap.
This style looks like a mini bouquet. It’s bold but balanced when only applied on selected nails. Use thin lines to separate petals. Top with clear sealant.
15. Floral French Tips
Combine the classic French manicure with flower accents. Use traditional white or colored tips. Then on the tip or near tip, draw small floral miniatures or petal outlines.
This blending of styles keeps it classy. It’s ideal for weddings or professional settings. Use soft hues to avoid contrast that’s too stark.
16. Abstract Floral Swirls
Use a soft pastel base. Then draw swirling petal shapes in abstract form, using multiple colors. The swirls suggest flowers without distinct petals.
This gives artistic, flowy nails. It works for creative personalities. Balance the swirls across nails so the composition feels cohesive.
17. Rose Vine Wraps
Paint long nails with a light base. Then draw rose vines twisting from cuticle to tip. Place small buds or leaves along the vines.
This design appears continuous across the nail. It suits longer nails. Use fine-line brushes. For accent nails, simplify vine or just a bud.
18. Floral Polka Dot Mix
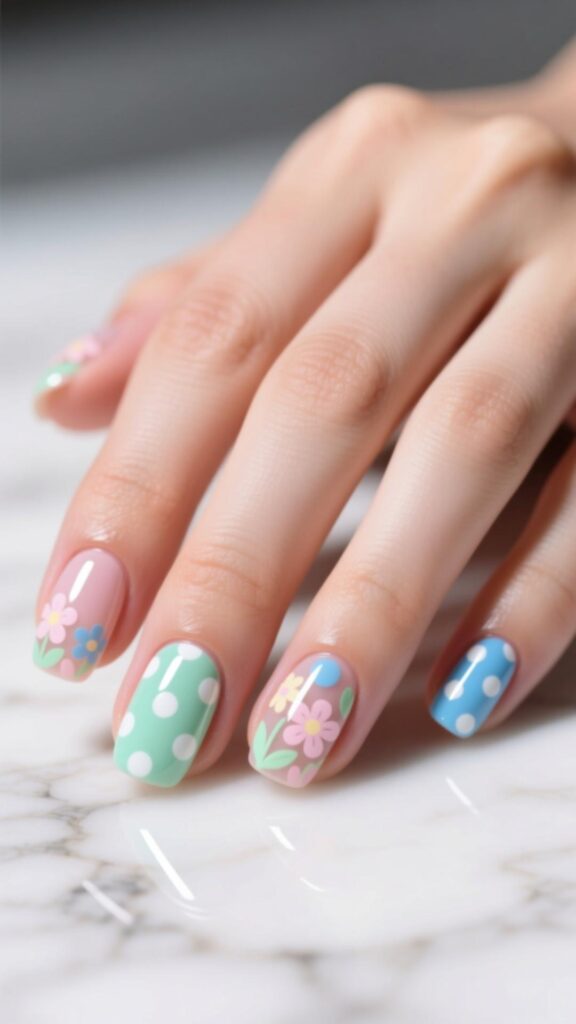
Start with a solid base color. Add small polka dots across the nail in a contrasting shade. Then, on one or two nails, convert some of those dots into tiny flower centers by adding petals around them.
This mash-up is playful. The polka dot foundation ties the look together. Use consistently spaced dots. Upgrade a few into florals to maintain the theme.
19. Sunrise Flower Gradient
Create a gradient base from yellow to peach to pink. Then draw silhouette flower shapes in dark color (like black or deep purple) over the gradient as shadows or outlines.
The contrast adds drama. The floral silhouettes give structure. This works especially well on medium nails. Use delicate outlines so silhouettes don’t overpower gradients.
20. Floral Geometric Mix
Divide your nail into geometric sections (triangles, diagonals) using striping tape. Paint each section a different color. Then overlay small floral motifs on one or more sections.
This creates dynamic contrast between structure and nature. Use a coordinating palette so the flowers don’t clash with base colors. The sharp geometric lines enhance the floral soft edges.
21. Hanging Flower Garland
Paint nails with a clear or pale base. Then draw delicate garlands or hanging vines with flowers draping downward from the cuticle area. Use berries or small blooms in the garland.
This design evokes floral jewelry. It looks elegant and refined. Use thin strokes and keep flowers small. Add tiny dots or crystals for accent.
22. Floral Ombre Tips
Do an ombre fade on tips (e.g. white to rose pink). Then add small flower motifs at the tip edges, letting petals overlap into the fade. Use white outlines or colored fills.
This merges the gradient trend with florals. It’s clean and pretty. Use a sponge for ombre and a fine brush for flowers. Seal well to prevent chipping.
23. Flower Petal Negative Space
Leave part of the nail bare and only draw overlapping petals in one corner or side. The petals appear to float off the bare area. Use white or pastel tones.
This design focuses attention on petals. It’s airy and artistic. The contrast between bare and painted accentuates the floral shapes.
24. Wildflower Field Nail
Scatter many tiny colorful flowers across the nail, mimicking a wildflower field. Use many shades: yellow, pink, blue, white. Use dotting tools and mini brushes.
This busy but charming design feels like springtime. Keep size small so you can fit many. Use a glossy top coat to give depth and cohesion.
25. Monochrome Floral Silhouettes
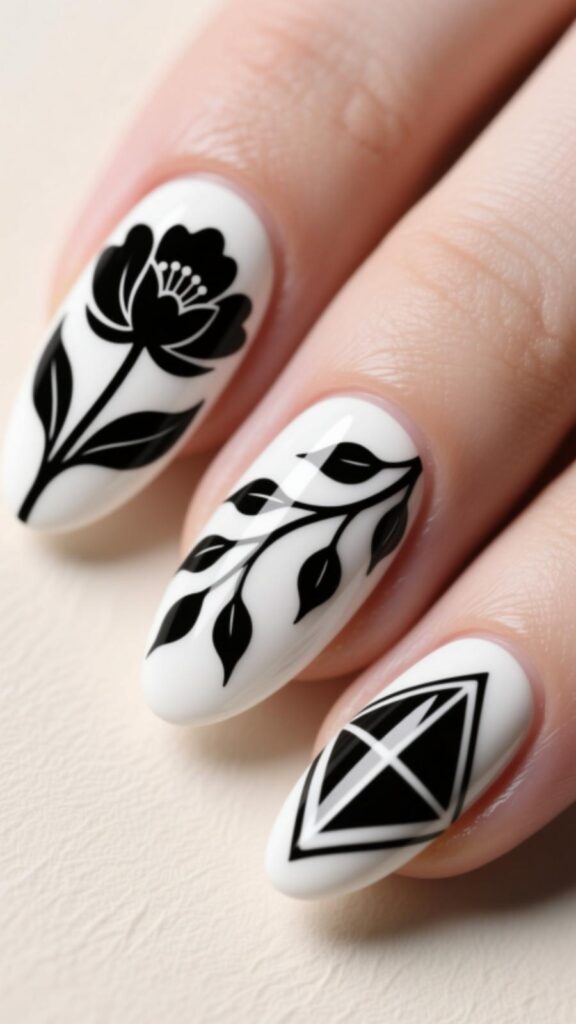
Pick one base color (for example pale gray, nude, or beige). Then use a single contrasting shade (white or black) to paint silhouettes of flowers just shapes, no interior detail.
This minimal approach is modern and bold. It’s easy to maintain and professional. The contrast makes the floral shapes stand out sharply. Use consistent spacing for balance.
Conclusion
Floral nail designs offer endless possibilities for creativity. Whether you prefer subtle daisy accent nails or bold tropical hibiscus patterns, there’s a style for you. These 25 ideas give you inspiration for everyday looks, special events, or seasonal nails.
Try combining techniques negative space, gradients, silhouettes, mixed florals to create a signature floral style. With practice, you can design unique flower nail art that suits your personality. Let your nails blossom!
Frequently Asked Questions (FAQs)
What size nails work best for floral nail designs?
Medium to long nails give more canvas, but short nails work too. Use tiny motifs or accents for smaller nails. Keep designs simple and minimal for short nails.
What tools do I need for floral nail art?
Use fine brushes, dotting tools, striping brushes, sponge for gradients, stencils or stamps, and high-quality top coat. A steady hand helps a lot.
How can I make floral designs last longer?
Use a good base coat, cure gels fully, seal edges, and apply a durable top coat. Avoid excess water exposure and use gloves for chores.
Can I mix floral designs with other nail trends?
You can blend florals with geometric lines, polka dots, negative space, or glitter. Just keep a coordinated color palette so the styles complement each other.
Are floral nail designs suitable for weddings or formal events?
Opt for soft pastel florals, lace overlays, or subtle rose vines. These styles look elegant and refined, perfect for weddings or special occasions.

Zoey Sarah, the founder of Magazine Rise. I’m passionate about sharing authentic, informative, and engaging content to help readers stay informed and inspired.